Aaaah! The sound of a brayer going back and forth across the perfect amount ink. It’s a unique sound. Kind of like the sound of Velcro but not quite.
I was excited to share the joy of that sound with my students.
It has been quite some time since I’ve done printmaking but that sound brought me back.
Okay you may count me strange to find such joy in a sound but that’s okay. We are all strange in our own way.
Printmakig Introduction
We are just at the beginning of a 6 week Printmaking Series. When I decided to do printmaking I had a hard time choosing which direction to go with it. There are so many options out there.
Although I work outside the public schools as what some might see as an “extra,” I take my job of giving these kids as much as I can in variety, technique, and knowledge very seriously. See How to Plan a Printmaking Unit to see how I worked through it all.
All things (well not ALL things) considered, I decided I wanted to focus on block printing. Block printing’s main ideas is that material is carved away from a larger block. Raised areas are printed and the areas in relief are not.
For our Printmaking Introduction, my goal was to focus on identifying negative space. Since it is essential to know what negative space is in block printing because that is what we will need to carve away. The other main concept for the Printmaking Introduction was the understanding of the printmaking process.
The lesson:
We briefly looked around the room and talked about how an object is the positive space and the space surrounding it is the negative space. Kids talked through this, one saying it was the “nothing” or the air. I liked that!
I dropped a string or a necklace on the tables so that the students could practice looking for the negative space. It’s a really quick exercise that helped me know who understood what I was talking about.
Then we looked at some graphics where the artist plays with switching around the positive and negative space. We didn’t do the traditional vase/two faces one. But I found a neat graphic with a batman/penguin and another with a old man playing a saxophone/women’s face. We talked about how what you see as the positive space switched depending on how you looked at the image.
We also tied in a bit of M.C. Escher with this book. He really liked to play with the positive and negative space. Just the cover shows how he changes what the viewer sees as the positive space.

Now onto the project.
We needed to make a print plate. Not block printing specifically but it gives us an easy project to introduce the whole printmaking process from start to finish. And that is my goal.
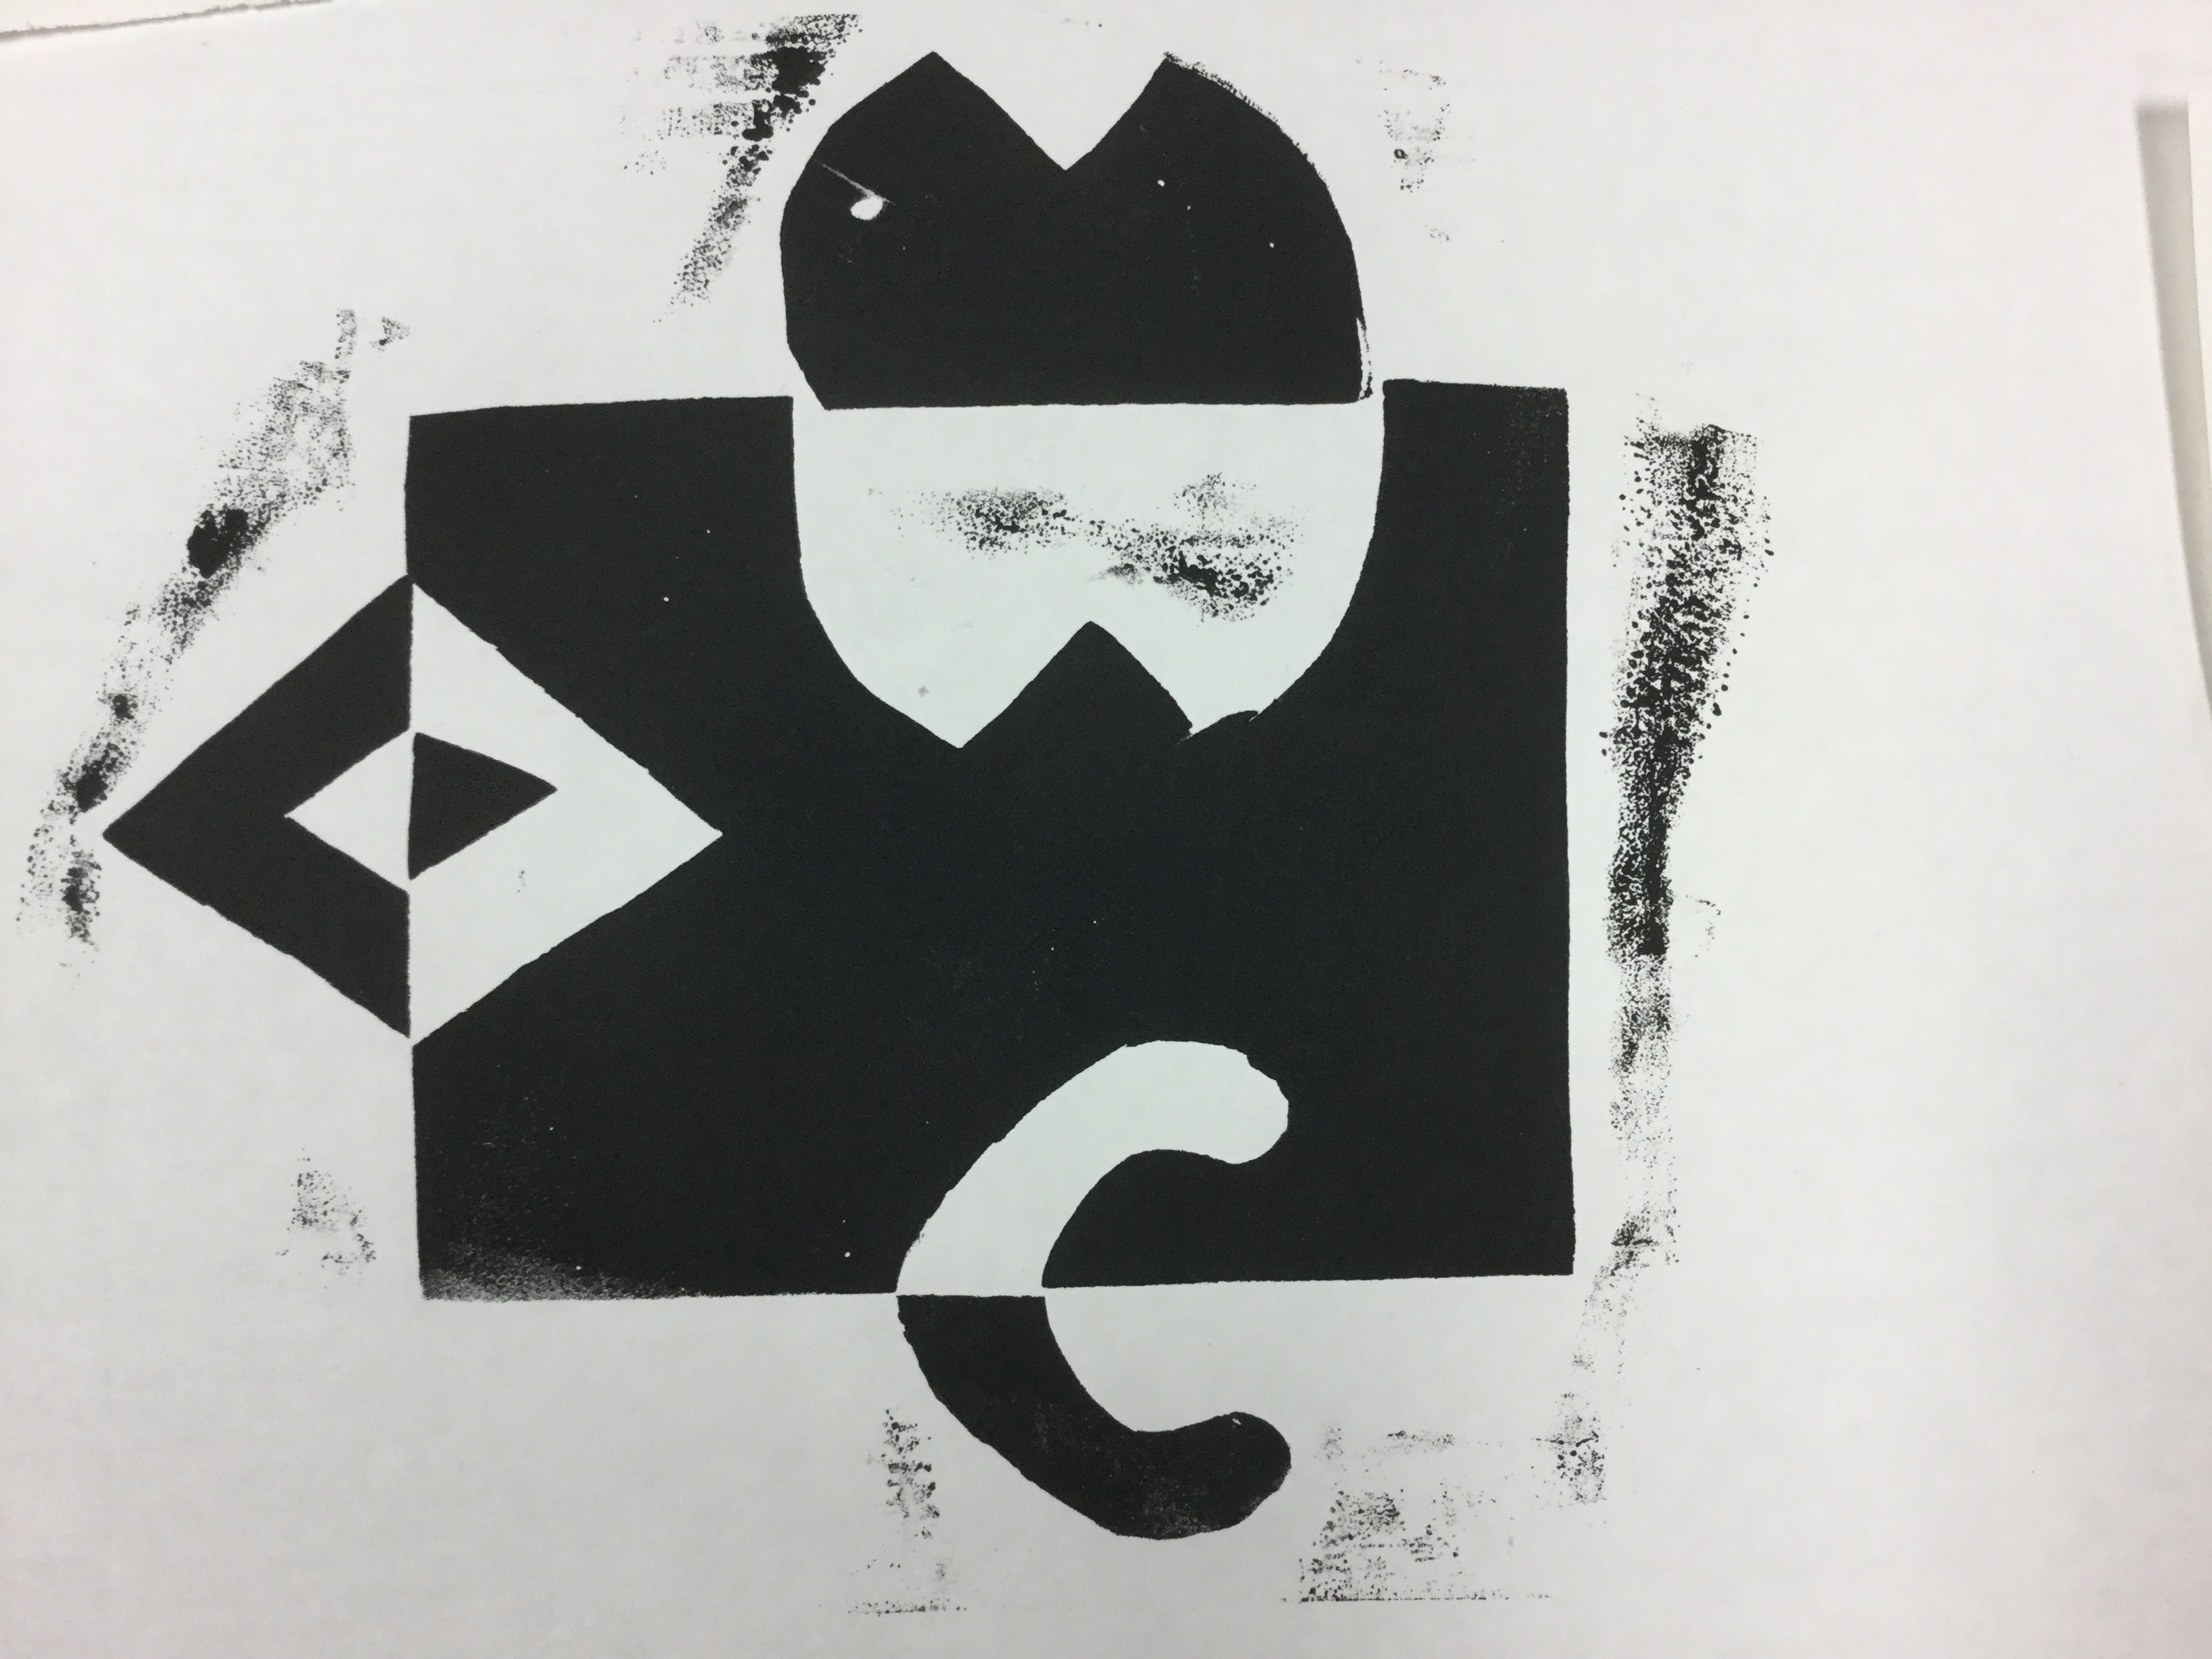
We looked at a design idea that is going around Pinterest…Notan. I really like the handout from Ashley at Teach and Shoot where she introduces a notan project. Notan is a Japanese concept for the stark contrast in this black and white design.

I had them try a few designs in paper. Like a sketch or a rough draft before moving onto the foam we would use for our printing plate. Simple craft foam cut into fourths will provide the raised surface for our prints.
As they were working I let them know if they might have trouble with their design being too small or too detailed. We are cutting foam with scissors and it can’t have the same details as with the paper.

Some went with themes and others with forms.

The paper cutting could be a project all by itself and they turned out great. I’m glad we did a few paper “sketches” as it really helped them work through their designs.
Then they adjusted or picked their favorite elements from their designs and started with the foam.
I told them not to worry about drawing on the foam and making mistakes just don’t push so hard with the pencil that you make a indent.

The foam pieces where then glued onto stiff paper. I used file folder halves.
As they were ready I had them come over to ink their design.

Our inking set up
To the side I had an area designated for ink. The area was protected with a plastic party table cover and I had hand wipes available. The hand wipes were essential. Even for the classes at my home where sinks available.

I only had 2 inking stations for this first project.

After inking, students took their project to another area (also covered) to transfer their images. This areas had sheets of paper and “wooden” spoons to use as barens.

They could take a peek at their image to check if they had rubbed enough. As long as they didn’t take it off the whole way.

I only had two inking stations so that I could keep a close eye on this first experience. I’m confident that they can handle it responsibly. So next time we will be able to have more stations.
Great kids! Yay!
We analyzed the prints and talked about areas that could have been rubbed more or areas that would have needed more ink.
Note: I’m using Blick’s water soluble block printing ink. One of the students wanted to rub it REALLY well. It started to stick. I think the problem was that it was drying while being stuck together. Oops!
Then we had an area to put them to dry. Students repeated prints as there was time. Some got to do multiple prints which helped them learn how to get a “clean” print. Some were so careful with theirs they only got one print. But those students tended to get a cleaner print because of their intense attention to detail through the whole process.

It was great to see the different approaches and the problem solving!
I love this project as a printmaking introduction. It’s a good one for getting an idea of the printmaking process and I like the designs.
Check them out!


As far as a time frame, I have small classes. The one I will use as an example here has 8 students ages ranging from 5th – 11th grade. We meet for a 1.5 hour class once a week. This was done in one class. If you are working with a larger class and shorter amount of time, it could probably be divided into two classes. One class for designing. The next class for cutting the foam and printing. And you would want more printing stations if you want to allow them the opportunity to do multiple prints. Which I highly suggest because they learn so much!
Do you have experience with printmaking? How do you introduce it?
There are affiliated links through amazon. If you follow one of the links and purchase something, it won’t affect your price any but I will get a bit to help support this thing I love. Thanks.

I have checked your page and i’ve found some duplicate content, that’s why you don’t rank high in google,
but there is a tool that can help you to create 100% unique content, search for; boorfe’s tips unlimited content
I see you don’t monetize your blog, don’t waste your traffic,
you can earn additional cash every month. You can use the best adsense
alternative for any type of website (they approve all websites), for more details simply search in gooogle: boorfe’s tips monetize your website